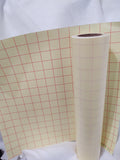
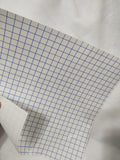
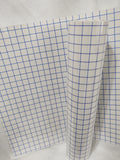
BLV Transfer Tape / Application Tape
Transfer tape is easy to use and can save you a lot of time & frustration when crafting.
Transfer tape allows you to easily transfer your cut and weeded vinyl to another surface—all without damaging your design.
One of the joys of using craft vinyl is that it is sticky but it is also flexible so it can adhere to a lot of different surfaces: curved wine glasses, water bottles, etc. That flexibility is also part of what can make vinyl so hard to work with: it’s easy to mess up when trying to place a large graphic unless you do it all at once. That’s where transfer tape can make your life easier!
How do you use it?
Very simply, once you have your graphic or text weeded and ready to be placed, you would just place a piece of transfer tape on top of your graphic.
You will want to use a piece of transfer tape that is larger than your graphic. (If you have a large design that is bigger than your transfer tape, you can use multiple pieces, overlapping slightly to cover the entire graphic). Using a squeegee, apply pressure to your transfer tape to ensure that the vinyl is sticking to the transfer tape. Once it is well-adhered, remove your transfer tape covered graphic from the release liner by starting at one edge (corners are best) and pulling back at a 90 degree angle. Once your graphic has been completely removed from the release liner, apply it to its new home (your tumbler, coffee mug or sign).
All sizes may have a variance of +/- 0.25 inch.
We carry two styles, both with medium tack:
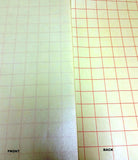
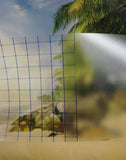
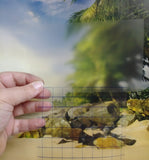
Crystal Clear Gridded
Crystal clear with a grid on the tape helps you line up your projects perfectly.
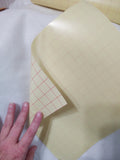
Clear (milky)
Clear tape obviously offers some transparency and only has lines on the liner paper.


